Netsuite (Billing)
Last updated: February 26, 2026
For organizations managing subscriptions in NetSuite, Grid offers an integration with SuiteBilling. Configure subscriptions in Grid with the steps below.
Adding your NetSuite Linked Account as a Workspace Data Source
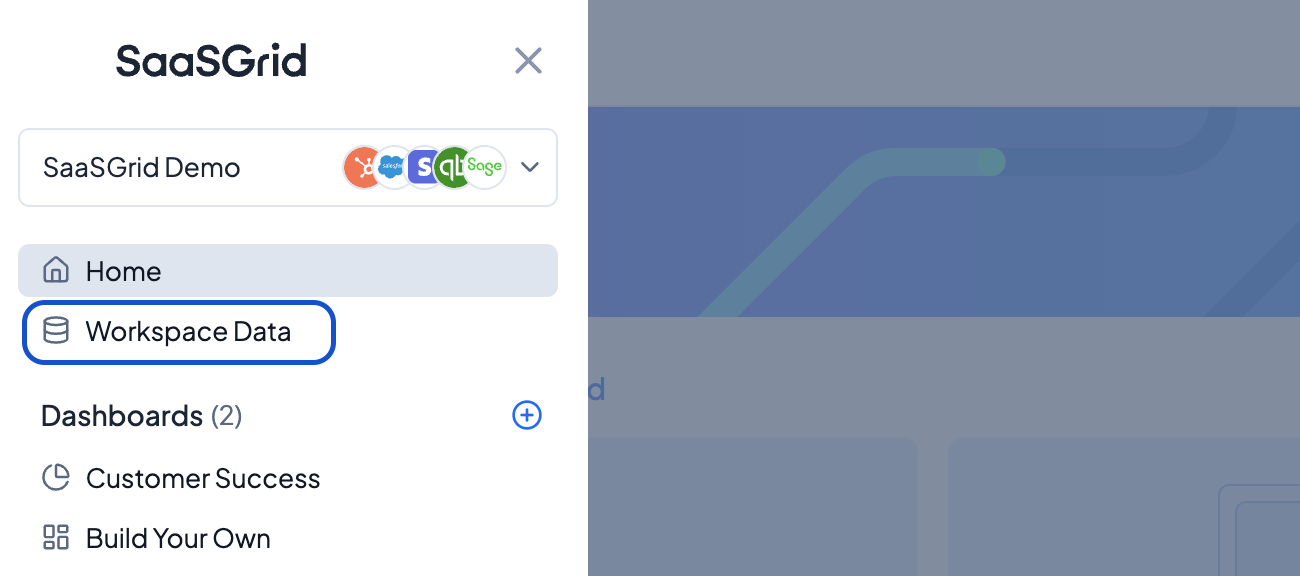
Once set up as a Linked Account, you should be able to configure the NetSuite account on a Workspace by Workspace basis. Navigate to Workspace Data.
Select Configure Data on the top right and then +Add Data Source.
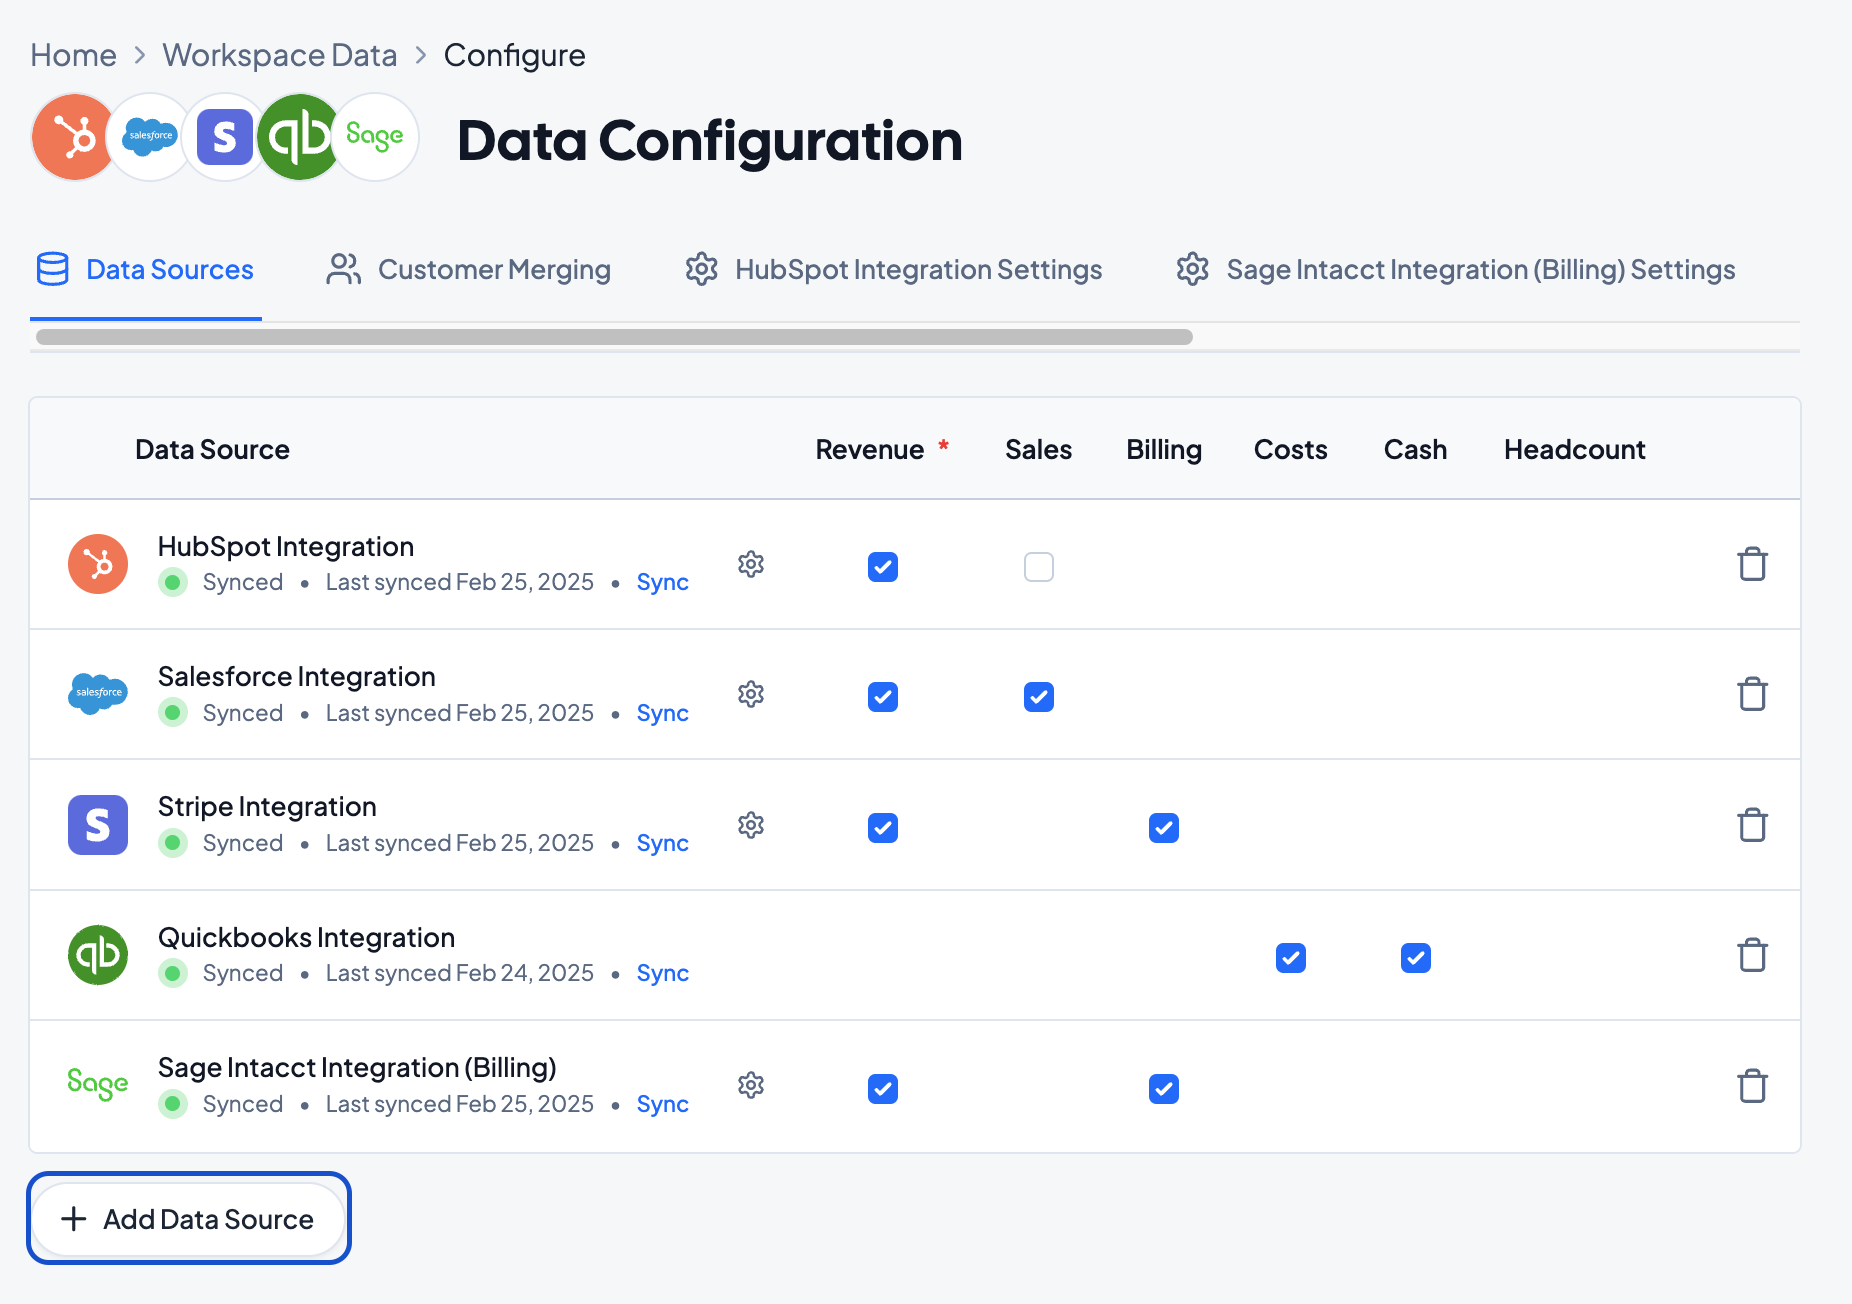
Select the NetSuite tile. You should see your newly configured NetSuite Linked Account on this page.
Configuring the NetSuite Rules Flow
Step 1 - Customers
Fill out information about how you want your customer names within Netsuite to be pulled into Grid. Additionally, also configure if you have a churn date field on the customer level.
Step 2 - Transactions
Select which NetSuite transactions should be used to track revenue, and which fields should be used to determine things such as start date or contract signed date.
Step 3 - Products
Grid will read all the available products in NetSuite and prompt you to classify each of the NetSuite products.
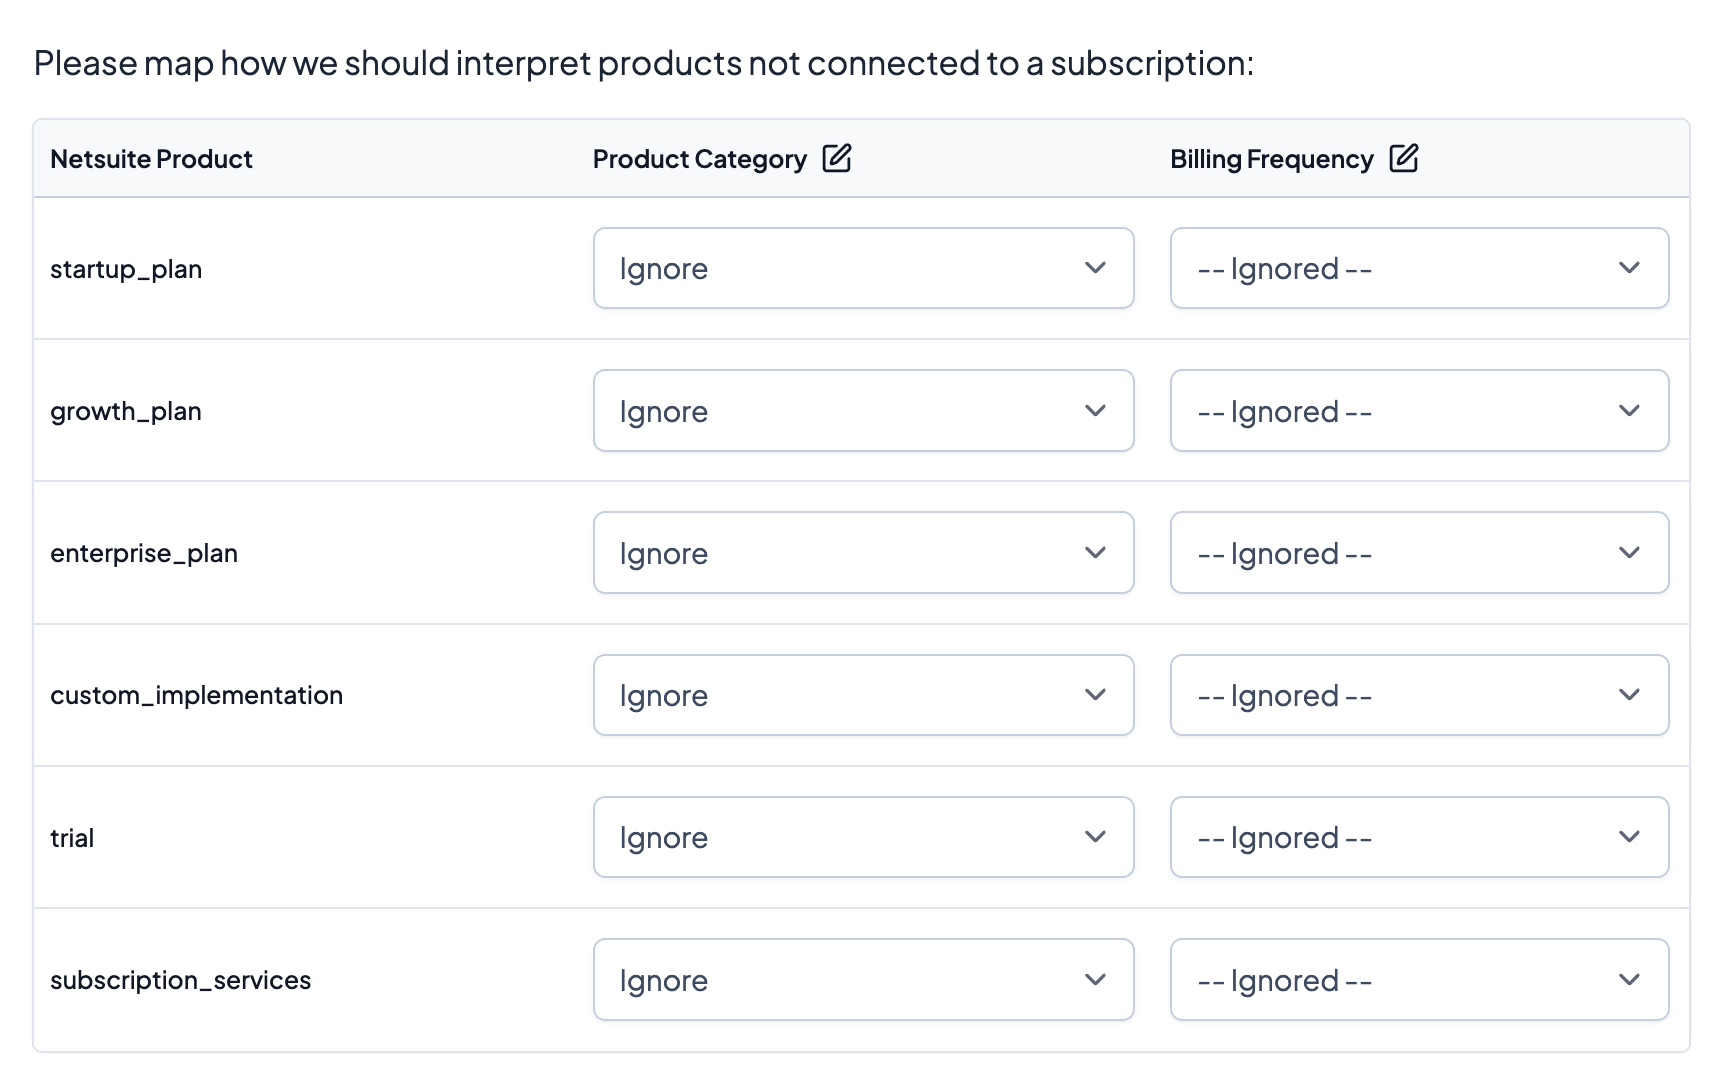
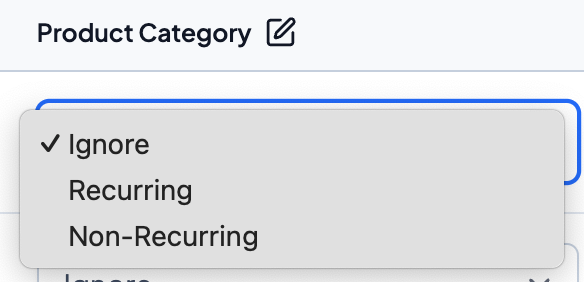
Select if each product should be marked as recurring, non-recurring, or ignored.
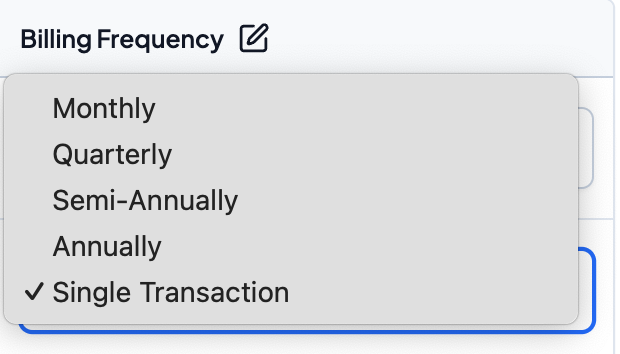
For Products that are not Ignored, select the appropriate Billing Frequency.
Step 4 - Segments and Filters
If there are fields at the Transaction, Customer, Product and/or Subscription level that you'd like to create Segments (see more about Segments here), configure those here. You can always index more fields in the future as you need them.
From there, click Create Data Source. You should be all set to go with your NetSuite Data Source!