Chelsey Fang
Last updated: 27 June 2025
For organizations managing subscriptions in QuickBooks, Netsuite, Xero, or SageIntacct, SaaSGrid offers an integration to pull in the relevant accounting information. If you haven't connected your account to SaaSGrid, follow the steps listed out in this article first.
Once the data is connected to SaaSGrid, you'll need to configure rules to ensure that SaaSGrid is classifying your accounting data correctly. These rules can be updated at any time under the Data Source Detail Page.
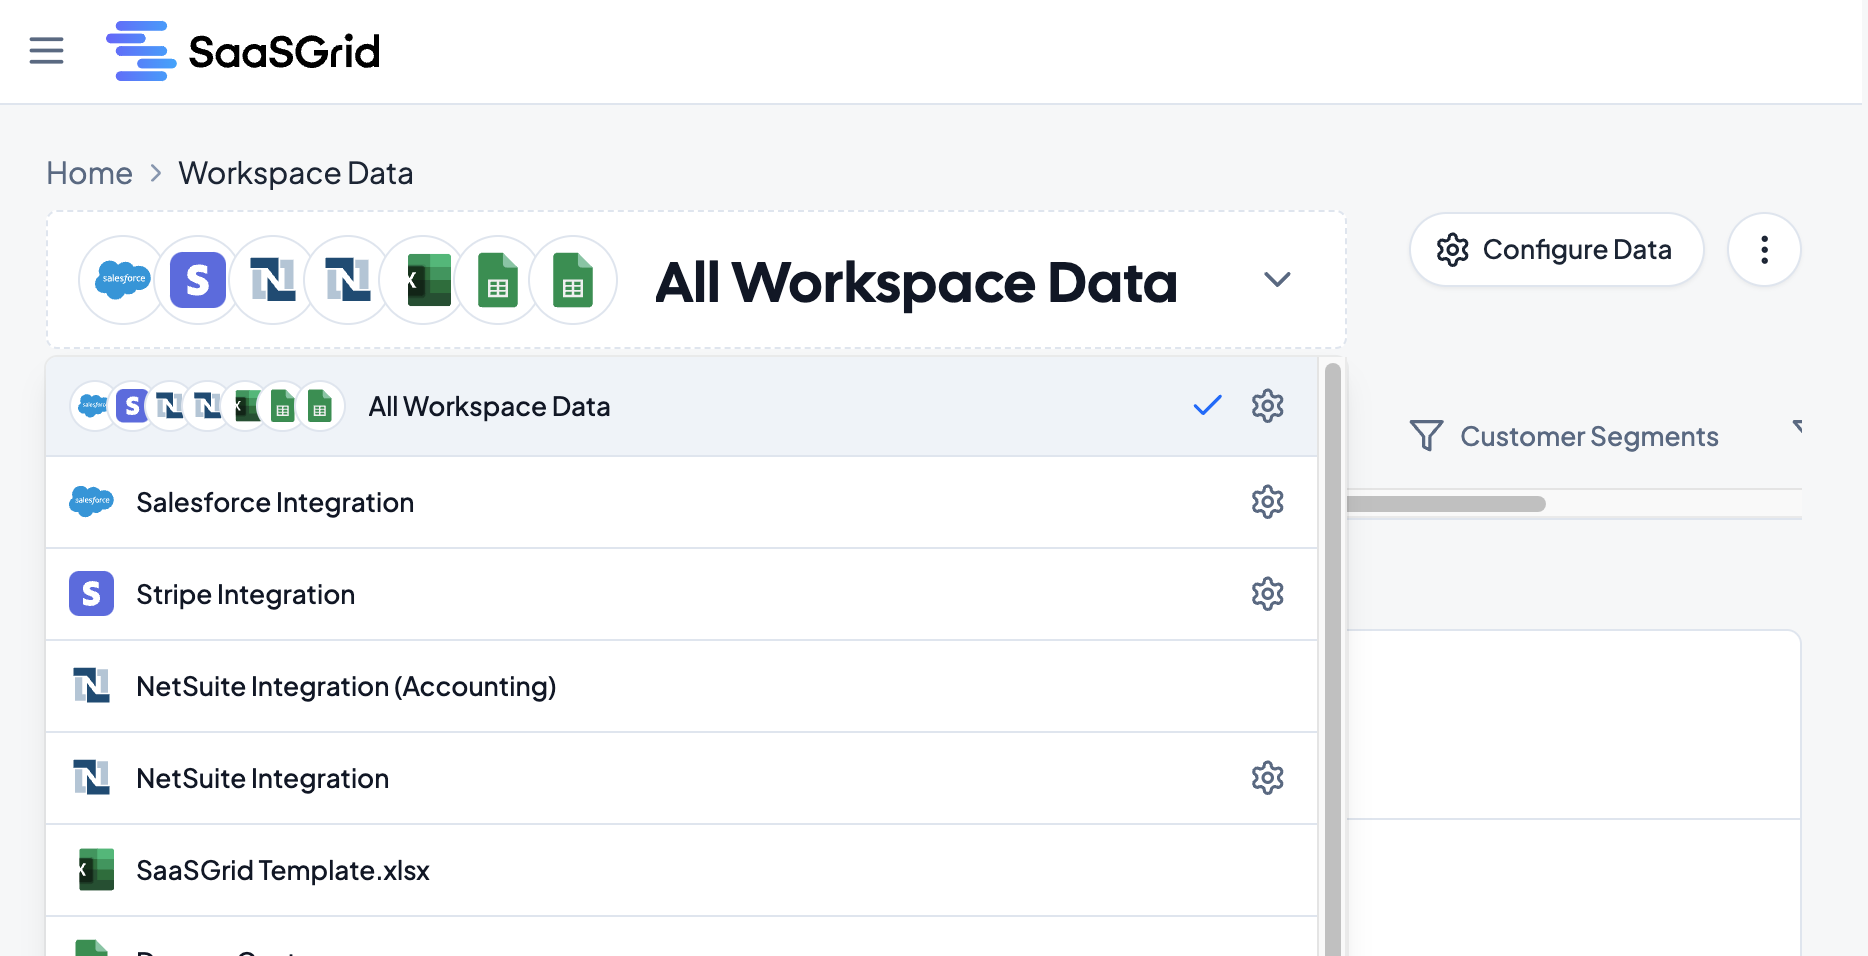
Navigate to Workspace Data and select the relevant Accounting software you are looking to configure in the top dropdown.
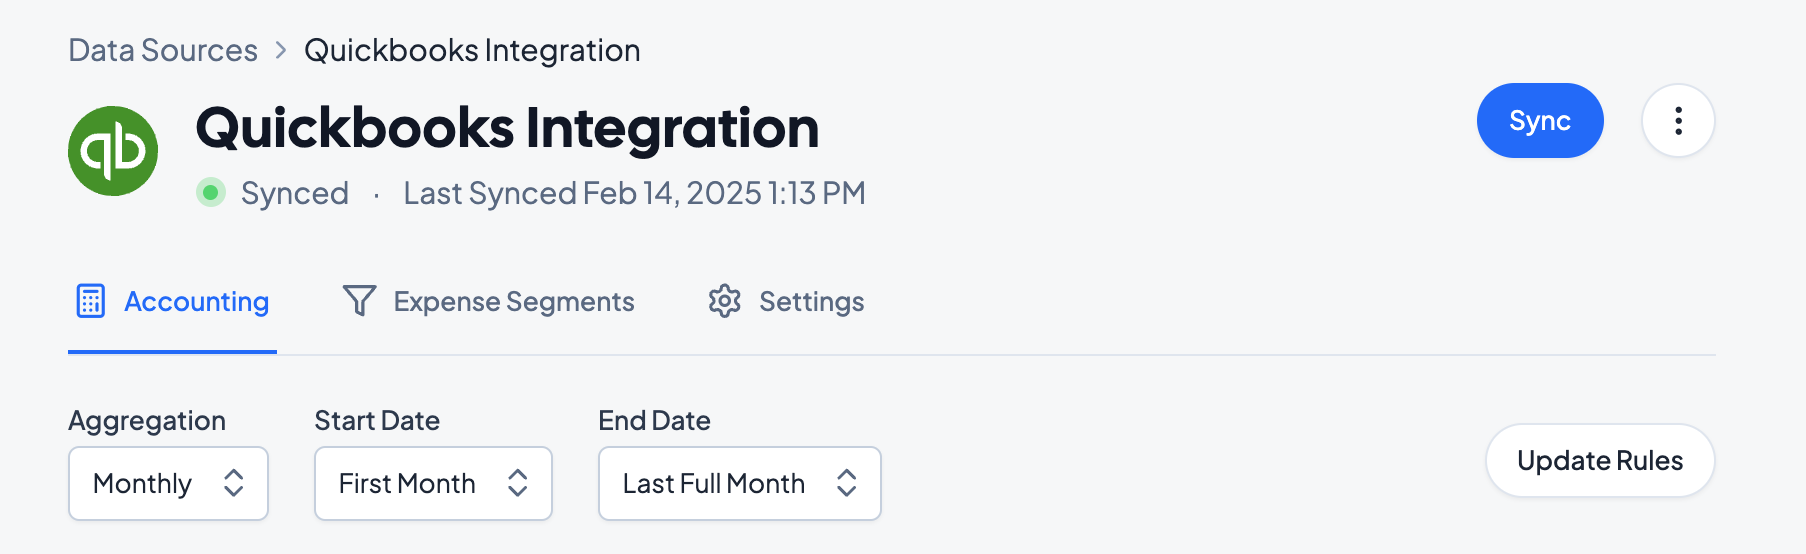
Select Update Rules.
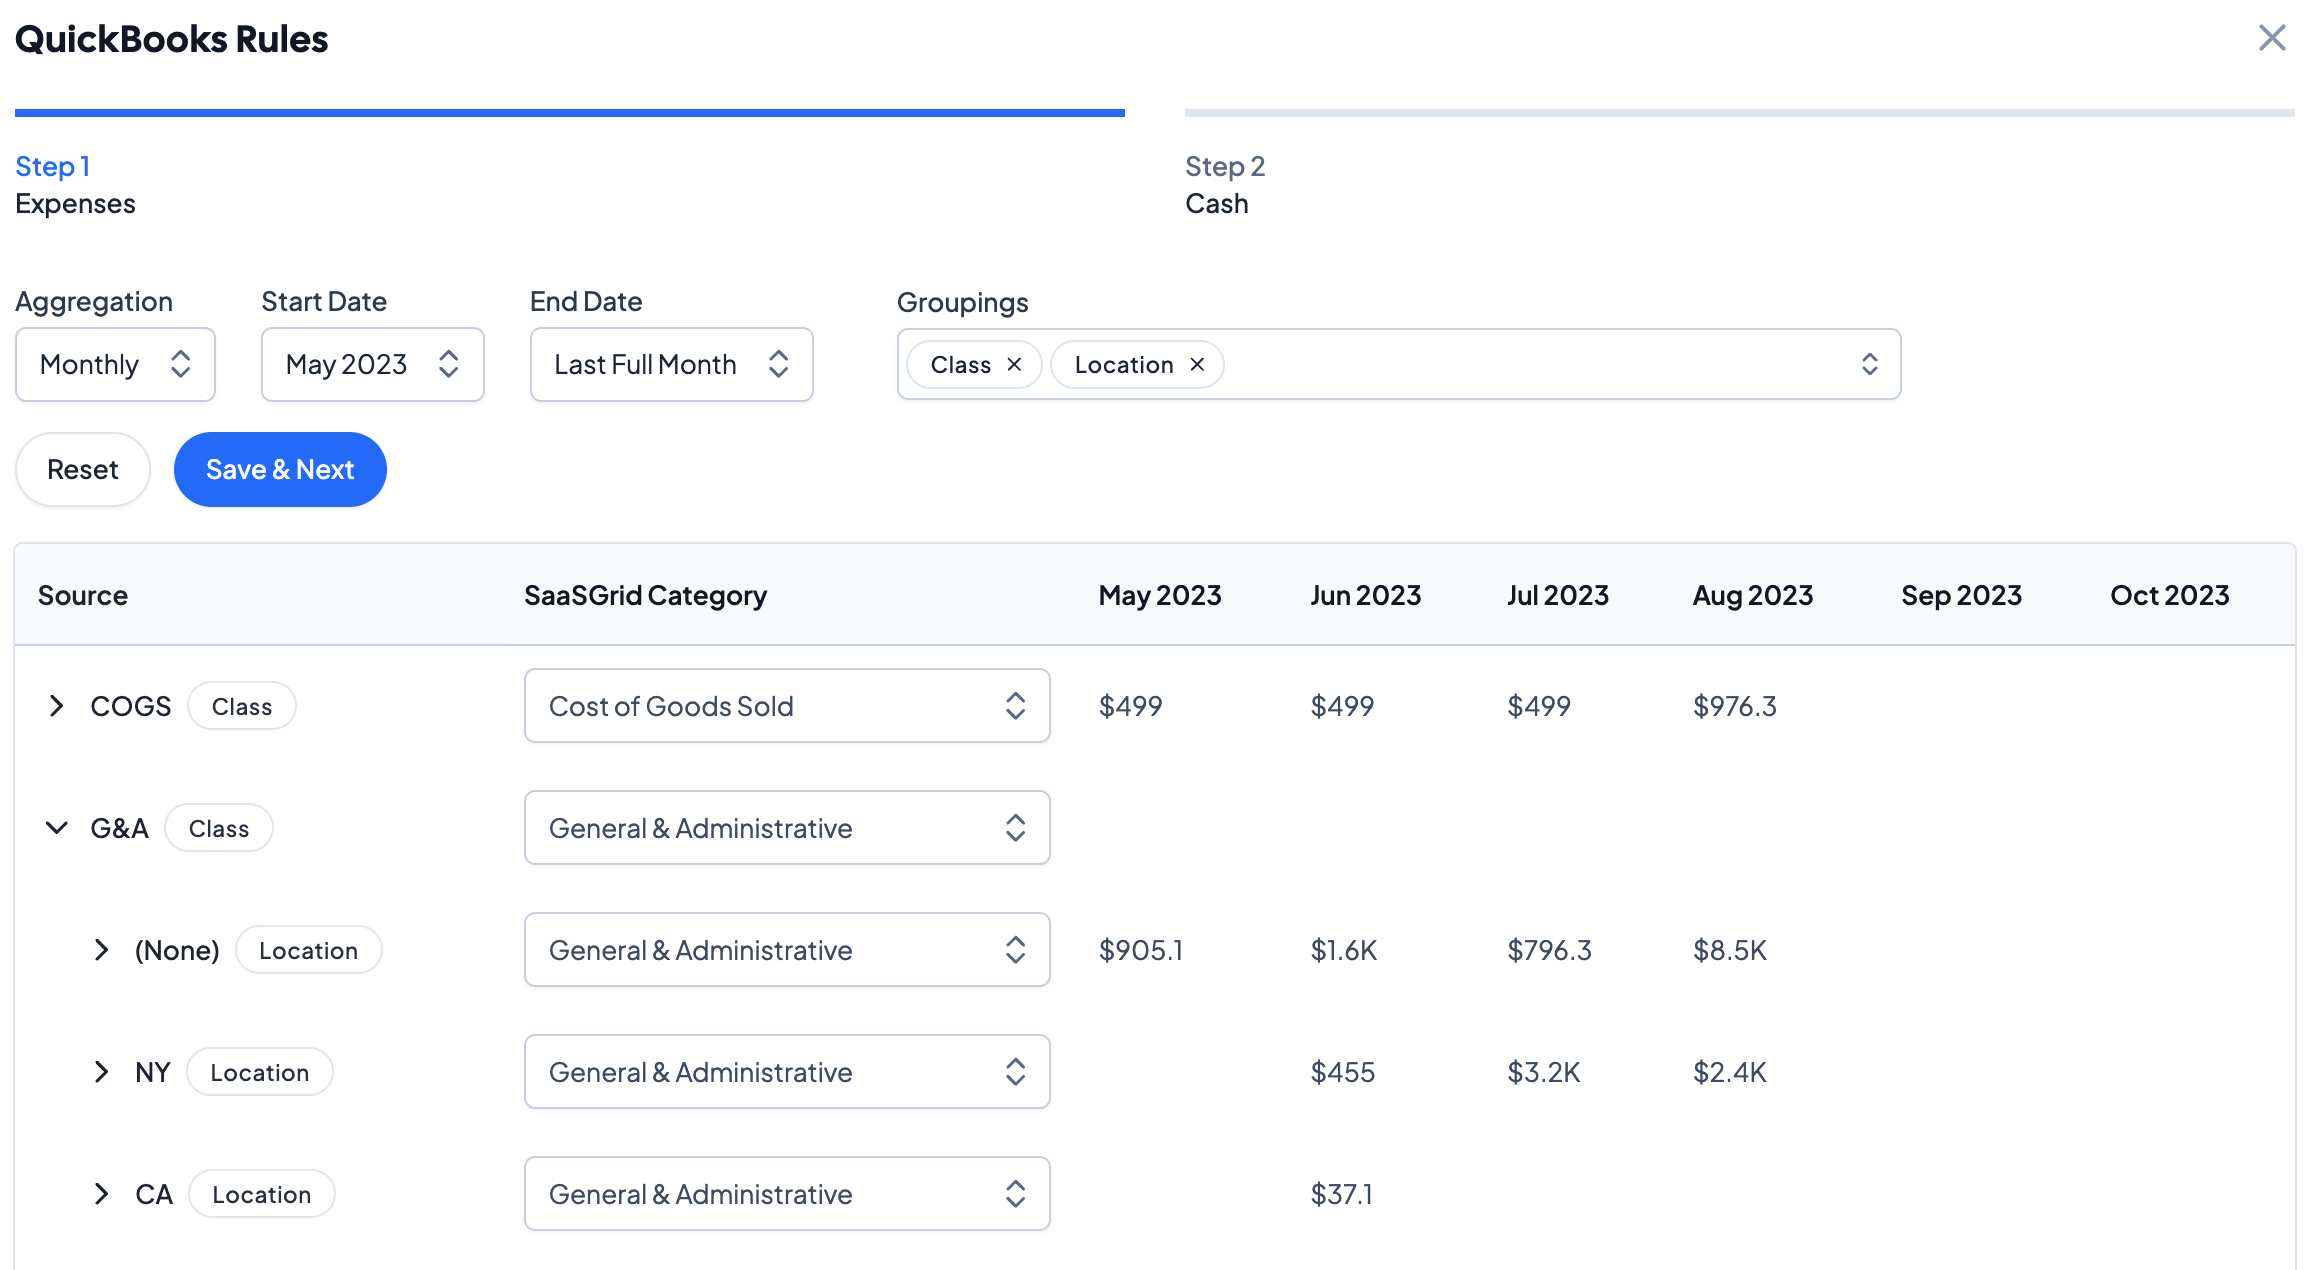
Each transaction source will pull in a category that can automatically map to one of four SaaSGrid categories: Cost of Goods Sold (COGS), General and Administrative (G&A), Sales and Marketing (S&M), and Research and Development (R&D). SaaSGrid will automatically assign categories based on their name, and you can change what category the expense category maps to manually in the dropdown.
Aggregation: SaaSGrid can show expenses based on a monthly, quarterly, or yearly aggregation.
Start Date: Select the first period that you want to pull expenses from QuickBooks in. Selecting "First Month" will pull in the earliest month of expense data.
End Date: Select the last period that you want to pull expenses from QuickBooks in. Selecting "Last Full Month" will pull in the last complete month of expense data.
To select how SaaSGrid should group expense categories, select Update Rules. In Groupings, select how SaaSGrid should group expense categories. Note that since the groupings specified are Class and Location, the "G&A" class is grouped by different locations. Note that since the groupings specified are Class and Location, the "G&A" class is grouped by different locations.
Once the Expenses settings are configured, click on Save & Next to advance to the Cash tab.
Under Cash, you'll see a similar menu with the same options as Expenses, with options for Aggregation, Start Date and End Date.
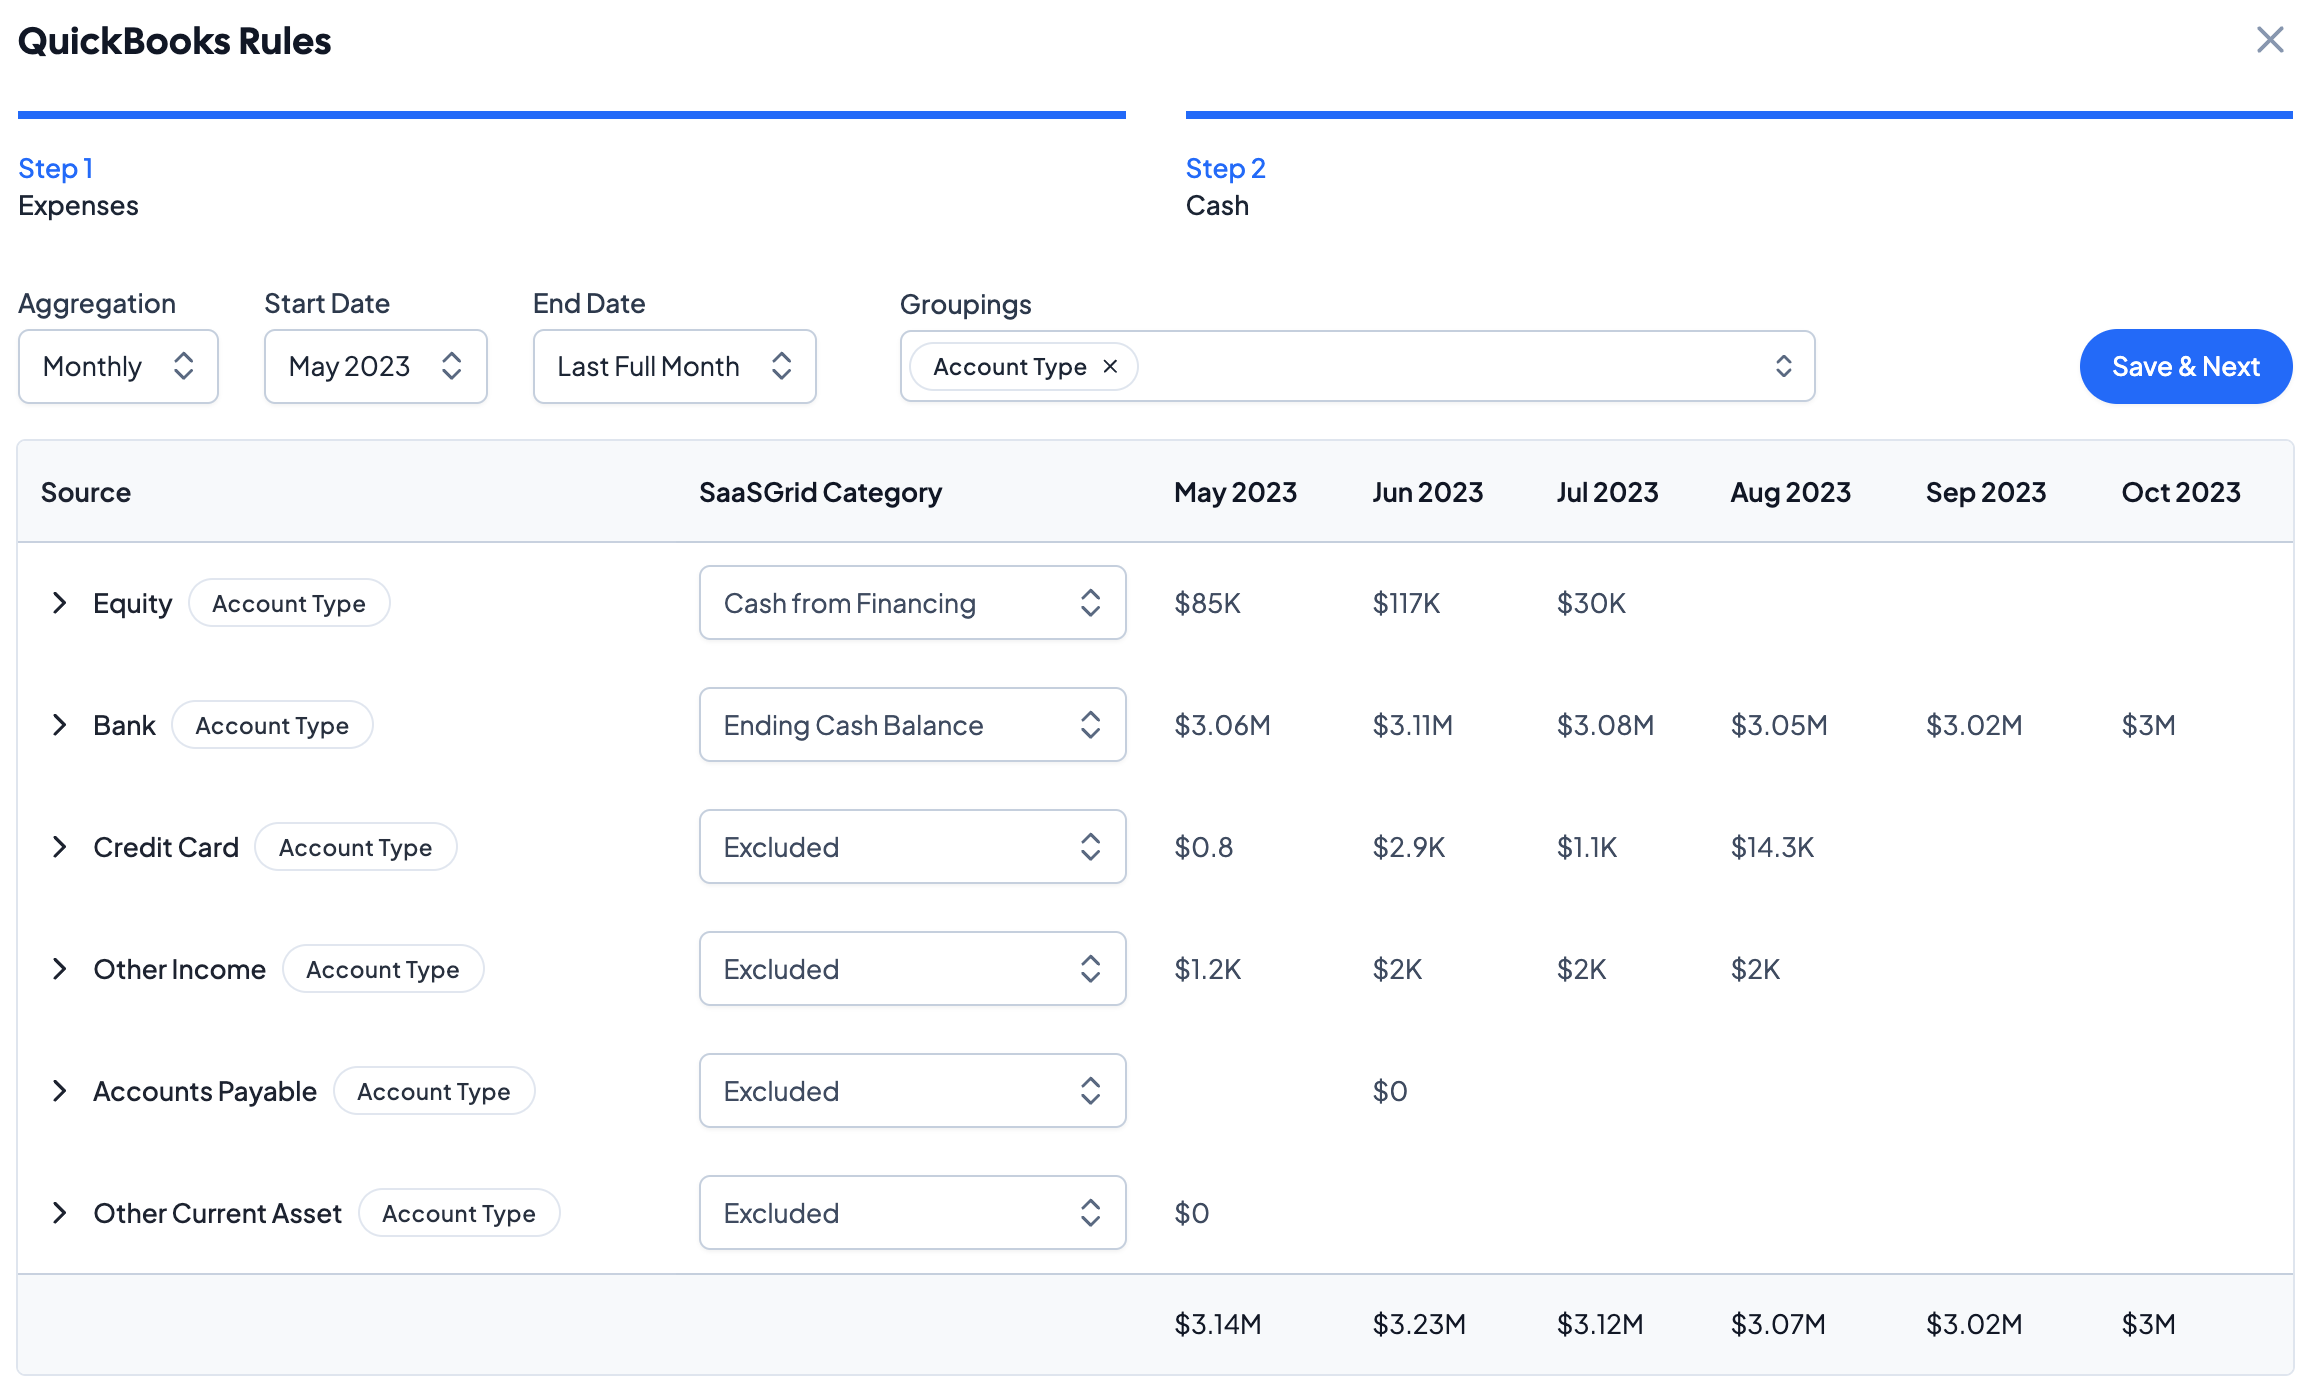
Click on Save & Next in the top right corner to save the date settings, expense and cash categories, and groupings.